When I first started editing images, it felt overwhelming. There were countless tools, techniques, and tutorials, each promising to transform photos into masterpieces. But what I quickly learned is that creating stunning images doesn’t require fancy software or years of experience—it’s all about mastering the basics with the tools you already have.
Understanding the Importance of Image Editing
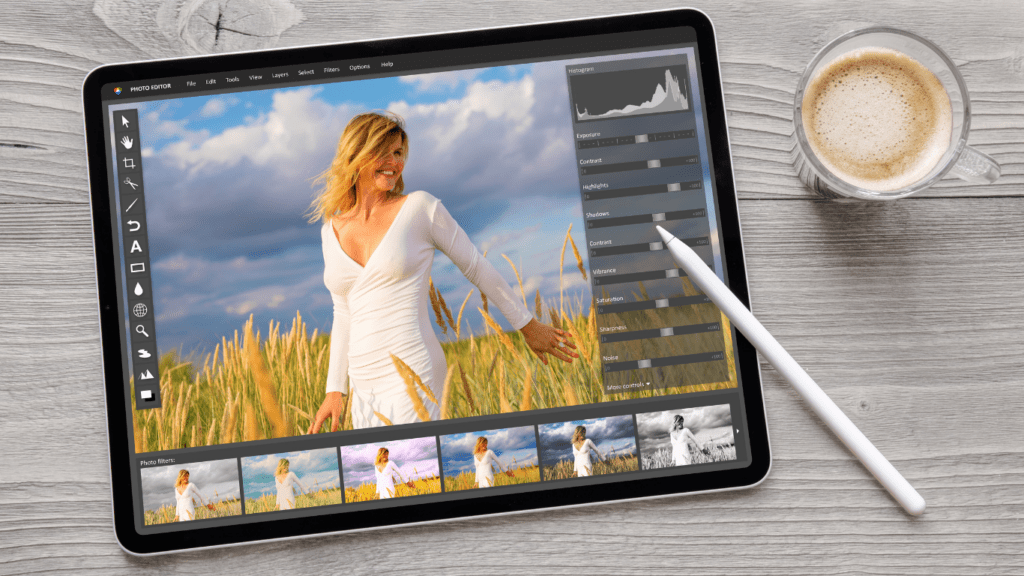
Image editing enhances the visual appeal of photos by correcting imperfections and emphasizing key details. Small adjustments in lighting, color, and sharpness can transform dull images into captivating visuals. For example, increasing exposure brightens dark photos, while adjusting contrast adds depth and dimension.
Editing also brings consistency to a collection of images by applying similar tones and styles. This is particularly useful for creating a cohesive look on social media platforms like Instagram. Edited images grab viewers’ attention more effectively than raw ones, which helps in personal branding or professional projects.
Image editing doesn’t just improve aesthetics; it conveys mood and intention. A warm filter evokes comfort, while a monochrome effect emphasizes drama. These choices shape how viewers interpret a photo, making editing an essential storytelling tool.
Choosing the Right Tools for Beginners
Selecting suitable tools simplifies the learning process for beginners. Focus on software that balances accessibility and functionality to create polished images.
Free vs Paid Editing Tools
Free tools like:
- GIMP
- Canva
- Snapseed
cover basic editing tasks without cost. They include options to adjust brightness, crop, and apply filters. GIMP offers advanced editing features comparable to Photoshop, while Snapseed is mobile-friendly.
Paid tools like Adobe Photoshop and Lightroom offer robust capabilities for professionals. These tools feature layer support, more advanced presets, and extensive retouching options. Beginners aiming for long-term improvement might consider investing in these tools later. For now, free tools often suffice for foundational skills.
Must-Have Features for Beginners
Essential features help streamline workflows. Look for tools with:
- Crop and Resize Options: Useful for adjusting composition or dimensions for platforms like Instagram.
- Brightness and Contrast Adjustments: Improves photo clarity and detail.
- Color Correction Tools: Enhances vibrancy and balances tones in photos.
- Filters and Presets: Speeds up editing with predefined looks.
Beginner-friendly tools should provide these options without requiring advanced knowledge.
Core Editing Techniques to Create Stunning Images

By focusing on a few fundamental editing techniques, it’s possible to turn a simple photo into a visually compelling image. Each method improves the photo’s overall appeal while maintaining a natural feel.
Cropping and Resizing
Cropping redefines the composition by removing unnecessary elements and directing attention to the subject. I use cropping to center key details or adhere to specific aspect ratios, like 1:1 for Instagram posts. Resizing ensures the image fits various platforms without losing quality. For example, resizing to 1080 x 1080 pixels ensures compatibility with most social media sites. These simple adjustments enhance framing and visual impact.
Adjusting Brightness and Contrast
Adjusting brightness and contrast improves an image’s clarity and balance. I brighten underexposed photos to reveal subtle details or lower brightness in overly lit areas. Increasing contrast amplifies the difference between dark and light parts, adding depth. With manual sliders in tools like Canva or Snapseed, I aim for a natural look by avoiding extreme adjustments, ensuring the image remains authentic yet striking.
Enhancing Colors and Tones
Color enhancement revitalizes dull photos by increasing vibrancy or fine-tuning specific tones. For example, boosting saturation makes colors pop, while targeted hue adjustments correct unnatural tints. I also use tools like temperature sliders to create warm or cool tones that match the intended mood. Subtle color grading creates a cohesive and polished result, perfect for personal or professional use.
Simple Tricks for Professional-Looking Edits
Achieving polished and professional-looking images doesn’t demand advanced tools. Simple techniques can elevate even basic photos to standout visuals.
Using Filters Effectively
Filters simplify the process of enhancing a photo’s tone and mood. I choose filters that complement the image’s subject rather than overpower it. Subtle filters work well for portraits, as they preserve natural skin tones, while vibrant filters enhance travel or landscape photos by amplifying colors. It’s always beneficial to adjust filter intensity to avoid an over-edited look, ensuring the edits appear intentional and refined. Apps like Snapseed or Lightroom offer adjustable filter presets for more control.
Removing Unwanted Objects
Eliminating distractions improves image focus. I use tools like the healing brush in Photoshop or the “Remove” tool in Snapseed to clean up unwanted elements like power lines, passersby, or blemishes. While working, I zoom into the area for precision and ensure the edits blend seamlessly with the background. Simple adjustments like these create cleaner, more professional visuals, emphasizing the subject without unnecessary distractions.


