When it comes to photography, your lens is more than just a tool—it’s your creative partner. Each focal length opens up a world of possibilities, shaping how you frame your subject and tell your story. But knowing how to use your lenses effectively can make the difference between an ordinary shot and one that truly captivates.
Understanding Focal Lengths And Their Impact On Framing
Focal length determines a lens’s field of view and its effect on subject appearance within the frame. It influences perspective, depth, and scale, shaping how viewers perceive the scene.
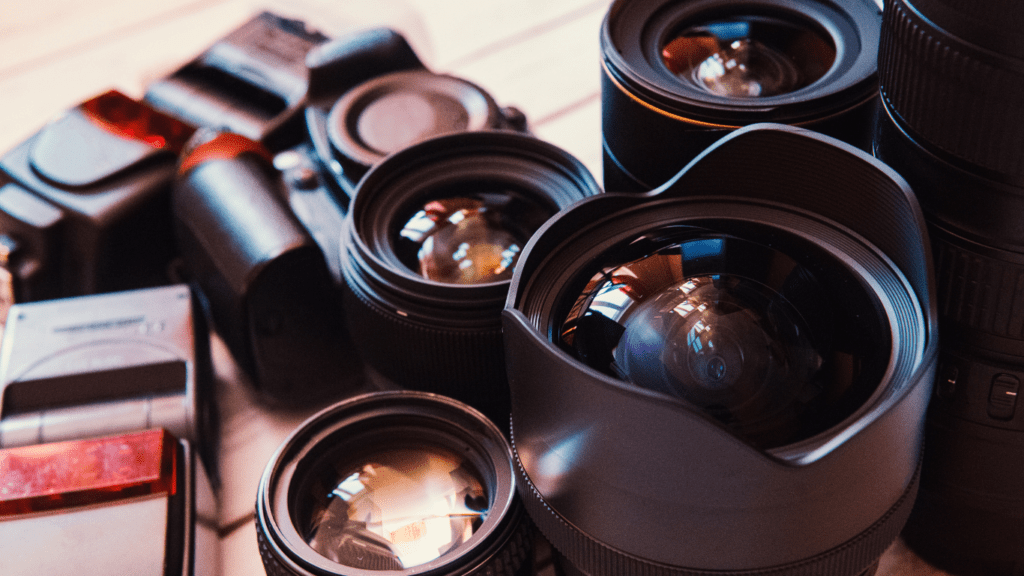
- Wide-angle lenses (14mm-35mm): These lenses capture expansive fields of view, ideal for landscapes, cityscapes, and group shots. They exaggerate depth, making foreground elements appear larger in proportion and creating dynamic compositions. For example, a 24mm lens can highlight leading lines in architecture.
- Standard lenses (35mm-70mm): Offering a natural perspective similar to the human eye, these lenses suit everyday photography, street scenes, and environmental portraits. A 50mm lens frames subjects realistically without distortion, balancing elements across the frame.
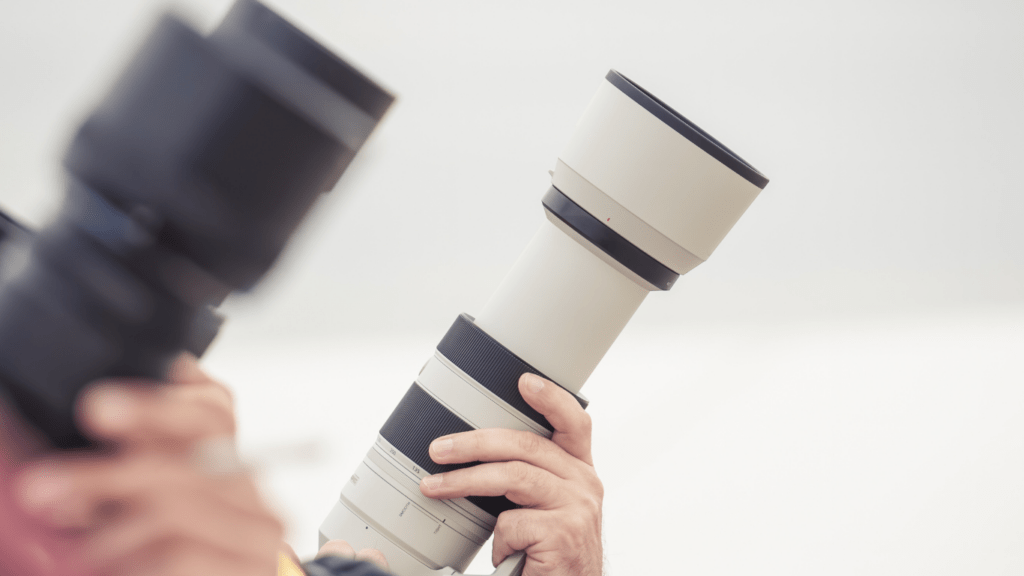
- Telephoto lenses (70mm-200mm): These lenses compress perspective, making distant subjects appear closer. They isolate subjects effectively, creating a shallow depth of field that emphasizes details. Using a 135mm lens for portraits softens backgrounds and focuses attention on the subject.
- Super-telephoto lenses (200mm+): These lenses narrow the field of view, often used in wildlife and sports photography. A 300mm lens isolates action, capturing subjects in vivid detail from a distance.
Understanding these ranges and their effects allows me to select the right lens for creative framing. The choice shapes how scenes unfold and stories are conveyed visually.
Wide-Angle Lenses: Expanding Your Perspective
Wide-angle lenses, typically ranging from 14mm to 35mm, capture more of a scene in a single frame while emphasizing depth. These lenses allow me to create dynamic compositions that draw the viewer’s eye into the photo.
Ideal Subjects And Scenarios For Wide-Angle Lenses
I use wide-angle lenses to photograph landscapes, architecture, and interiors. They excel in capturing vast outdoor terrains, like mountain ranges or expansive beaches, where showcasing scale is essential. For urban photography, I rely on these lenses to emphasize building structures or cityscapes. When shooting indoors, wide angles help me fit entire rooms into the frame.
Group photography also benefits from wide-angle lenses. I can include all participants in one frame without excluding details of their surroundings. However, I avoid placing subjects near the edges to prevent distortion.
Framing Techniques For Dramatic Depth
I often position foreground elements prominently to exaggerate depth. For instance, leading lines like paths or fences guide the viewer’s eye deeper into the composition. By lowering my camera angle, I can emphasize foreground objects against expansive backgrounds, like flowers in the foreground of a wide landscape.
To minimize distortion, I keep my camera level, especially when shooting architecture or horizons. Distorted lines can distract from the subject’s natural beauty. When intentional distortion is beneficial, such as in artistic shots, I experiment with extreme angles to create a sense of movement or tension.
Standard Lenses: Balancing Realism And Creativity
Standard lenses, ranging from 35mm to 70mm, offer a natural perspective that closely resembles human vision. Their versatility makes them ideal for achieving a balance between realism and artistic expression.
When To Use A Standard Lens For Framing
I rely on standard lenses for their ability to create images that feel authentic and relatable. These lenses work well for street photography, casual portraits, and everyday scenes where natural perspective is key. They’re effective in maintaining proportionality, making them great for capturing people without distortion. For example, a 50mm lens provides a realistic portrayal of facial features in portraiture. Standard lenses also perform well in low-light conditions due to wider apertures, which makes them a solid choice for indoor settings and golden hour shots.
Techniques For Capturing Natural Compositions
To achieve natural compositions with a standard lens, I focus on framing subjects thoughtfully and incorporating depth. Positioning elements at varying distances, such as a subject in the foreground and background textures, enhances dimensionality. I often use a slightly open aperture, like f/2.8 or f/4, to establish a pleasing separation between subject and background while maintaining sharp focus.
I also recommend experimenting with the rule of thirds to balance elements within your frame. For instance, when shooting outdoor scenes, placing the horizon on the upper or lower third line adds visual interest. Additionally, moving closer to the subject enables intimate perspectives without distorting proportions, retaining the realism standard lenses provide.
Telephoto Lenses: Isolating And Compressing Subjects

Telephoto lenses, ranging from 70mm to 200mm, excel at isolating subjects and compressing distances to create striking visual effects. Their unique optical properties make them ideal for capturing portraits, wildlife, and distant action scenes with clarity and impact.
Best Practices For Framing With Telephoto Lenses
Positioning plays a crucial role when framing with telephoto lenses. These lenses narrow the field of view, so I carefully pick uncluttered backgrounds or use shallow depth of field to blur distractions. This separation draws attention directly to the subject, whether it’s a person, an animal, or an object.
Using distance effectively enhances compositions. I step back to create space between myself and the subject, allowing the lens to compress foreground and background elements. This approach works well in portraits or when layering scenic elements like mountains or cityscapes.
Lighting is key when working with telephoto lenses. I prioritize softer light, such as during golden hour, to avoid harsh shadows that can emphasize lines or imperfections. This enhances both subject detail and overall mood.
Tripod stability is often necessary, especially with slower shutter speeds typically required for longer focal lengths. Even with image stabilization, I use a sturdy tripod or monopod to ensure sharpness in each shot.
Using Telephoto Compression To Enhance Shots
Telephoto compression creates a visually appealing effect by compressing spatial relationships within a frame. This effect brings distant elements closer together, making them appear stacked or layered. For instance, I use this technique to capture skyline photography, where buildings seem densely grouped, or wildlife, where animals stand out against dramatic backdrops.
In portrait photography, telephoto compression flattens features slightly, offering flattering perspectives and helping minimize facial distortions. I often frame head-and-shoulders portraits at 85mm or tighter focal lengths to create a balanced, intimate look.
For landscape images, compression emphasizes scale and depth. I align multiple layers, like rolling hills or shorelines, to amplify visual drama. In these cases, I prefer apertures like f/11 to maintain sharpness through the depth of the scene.
By leveraging telephoto compression, I achieve compositions that feel both dynamic and cohesive, drawing viewers’ focus directly to the story conveyed within each frame.
Specialty Lenses: Going Beyond The Basics
Specialty lenses expand creative possibilities by enabling unique framing styles and techniques. They cater to specific needs and artistic visions, making them invaluable tools for photographers.
Macro Lenses For Close-Up Framing
Macro lenses are designed for extreme close-ups, capturing intricate details with sharp focus. These lenses typically have focal lengths between 50mm and 200mm and offer a 1:1 magnification ratio, allowing life-sized reproduction of small subjects. I use macro lenses to photograph subjects like insects, flowers, or textures, revealing patterns and details invisible to the naked eye.
Precision focusing is essential when working with macro lenses due to their shallow depth of field. I recommend using a tripod to stabilize the camera, especially for high-magnification shots. Controlled lighting, such as ring lights or diffusers, prevents harsh shadows and ensures even exposure, enhancing the clarity and vibrancy of close-up compositions.
Fisheye And Tilt-Shift Lenses For Unique Perspectives
Fisheye lenses deliver ultra-wide, distorted visuals with curved horizons. These lenses have focal lengths ranging from 8mm to 16mm and are great for creating artistic effects. I like using fisheye lenses to capture dynamic scenes, such as expansive interiors, crowded events, or creative portraiture, producing exaggerated perspectives and a sense of circularity in the frame.
Tilt-shift lenses, on the other hand, allow precise control over perspective and focus planes. Architects and landscape photographers often rely on these lenses to correct distortions, like converging vertical lines in building facades. Tilt-shift capabilities also enable selective focus, mimicking the miniature effect in urban photography. Using these lenses requires careful manual adjustments to achieve the desired visual impact, making them both challenging and rewarding tools.
Specialty lenses unlock distinct framing opportunities. With the right techniques, they enhance storytelling by offering fresh visual approaches.
Tips For Choosing The Right Lens And Framing Technique
Deciding on the most suitable lens involves considering the subject, environment, and desired visual effect. Understanding these factors helps create impactful compositions.
1. Match Lens to Subject Type
I select wide-angle lenses (14mm-35mm) for expansive scenes like landscapes or architecture. For everyday settings, such as street photography or casual portraits, I rely on standard lenses (35mm-70mm). Telephoto lenses (70mm-200mm+) work well for isolating subjects or capturing distant details.
2. Consider Desired Perspective
I identify the mood I want to evoke in my photography. Wide-angle lenses enhance depth and exaggerate proportions, adding drama. Telephoto lenses compress perspectives for intimate, focused imagery. Standard lenses bring balance and realism to compositions.
3. Evaluate Shooting Environment
I factor in location constraints. In tight indoor spaces, standard or wide-angle lenses help include more context. For outdoor scenes like wildlife or sports photography, super-telephoto lenses (200mm+) allow me to capture distant subjects effectively.
4. Leverage Framing Techniques
I utilize unique framing techniques by focusing on lens-specific strengths. For wide-angle shots, I incorporate foreground interest or leading lines for dynamic depth. Telephoto framing benefits from clean, minimalist backgrounds and shallow depth of field, emphasizing detail. Standard lenses adapt well to rules like the golden ratio or rule of thirds for natural compositions.
5. Balance Lens and Lighting Conditions
I ensure adequate lighting pairs with lens choice. Telephoto lenses often need brighter settings or tripod support due to slower maximum apertures. Conversely, wide and standard lenses handle low-light settings well, benefiting indoor or golden hour photography.
By aligning lens type, focal length, and framing techniques with the subject and environment, I maximize creative possibilities for every shot.


