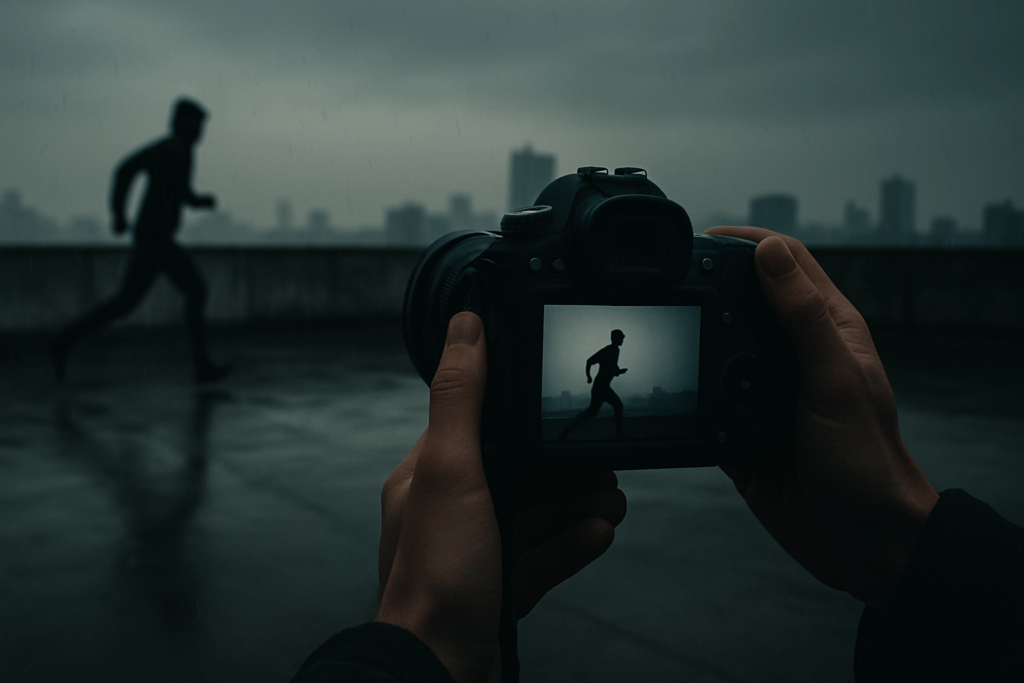
Shooting in harsh light can feel like an uphill battle. The intense brightness, hard shadows, and blown-out highlights often make it seem impossible to capture the perfect shot. I’ve been there, staring at the midday sun, wondering how to salvage a scene without losing its essence. But here’s the thing—harsh light doesn’t have to ruin your photos. In fact, it can add drama and depth when approached the right way.
Understanding Harsh Light And Its Challenges
Harsh light occurs when the sun is at its peak or other strong light sources create intense brightness. This lighting condition results in high contrast, pronounced shadows, and highlights that can easily overpower a photo’s subject. It’s common during midday or in locations with limited diffused light, like open landscapes or reflective environments.
Harsh light challenges include uneven exposure, loss of detail in shadows and highlights, and overly saturated colors. For example, harsh sunlight can cast deep shadows under a person’s eyes and nose, leading to unflattering portraits. Reflective surfaces, like water or glass, can amplify the intensity, creating glare or hotspots that distract from the main elements.
Understanding these difficulties helps me anticipate potential issues before shooting. Identifying how light interacts with:
- subjects
- backgrounds
- reflective surfaces
Essential Gear For Shooting In Harsh Light
Shooting in harsh light demands specialized tools to manage intense brightness and high contrast. With the right gear, I can achieve well-balanced, dynamic photos even in challenging conditions.
Camera Settings For Optimal Results
I adjust my camera settings to control exposure and balance highlights with shadows. Lowering the ISO to 100 or the camera’s base setting minimizes grain while maintaining clarity. I set the aperture smaller (e.g., f/11) for greater depth of field and to reduce overexposure. For moving subjects, I increase the shutter speed to avoid motion blur. Using spot metering instead of evaluative metering allows me to focus exposure adjustments on the subject rather than the background.
If my camera supports it, I shoot in RAW to maximize post-processing flexibility. This format retains more detail, making it easier to recover highlights and shadows affected by harsh light.
Importance Of Lens Choices
Choosing the right lens impacts image quality under harsh light. I use lenses with larger hood designs to block unwanted glare and minimize lens flare. Prime lenses are particularly effective due to their sharpness and minimal light dispersion. A polarizing filter on the lens cuts reflections from reflective surfaces like water and glass, improving saturation and contrast.
For wider compositions, I select lenses with superior chromatic aberration control to prevent color fringing in high-contrast edges. Weather-sealed lenses are a must for outdoor shoots, ensuring durability when the light is intense.
Techniques To Adapt To Harsh Lighting

Adapting to harsh lighting enhances shot composition and improves image quality. Effective techniques involve manipulating shadows, using light-modifying tools, and experimenting with shooting angles.
Using Shadows And Contrast Creatively
I focus on using shadows to add depth and dimension to my photographs. Positioning subjects near sharp or textured shadows creates dramatic effects, like striking silhouettes or bold patterns. Highlighting contrast between light and dark areas enhances visual interest and guides the viewer’s eye. For example, I often backlight subjects or frame them against shaded areas to ensure dynamic compositions.
Leveraging Reflectors And Diffusers
Reflectors and diffusers help balance harsh light for more even exposure. I use collapsible reflectors to redirect light onto shaded areas, softening hard shadows on my subject’s face. Gold-toned reflectors add warmth, while silver reflectors provide cooler highlights. Diffusers, such as translucent panels, break harsh sunlight into softer light. When portability is crucial, I use lightweight fabric diffusers or even thin curtains to manage direct sunlight.
Adjusting Your Shooting Angles
Shooting angles influence light impact on a scene. I avoid shooting directly into harsh sunlight unless creating flares intentionally. Angling the camera slightly or placing subjects parallel to the light source minimizes overexposure and flare. I also experiment with low or high perspectives to reduce unflattering highlights on faces or reflective surfaces, capturing cleaner, balanced images.
Post-Processing Tips For Enhancing Harsh Light Photos
Editing software helps elevate images shot in harsh light by correcting exposure issues and enhancing details. By applying precise adjustments during post-processing, I can transform overly bright, high-contrast photos into visually balanced compositions.
1. Correct Exposure And Recover Details
Adjusting highlights and shadows restores lost details. I start by lowering the highlights to reduce blown-out sections and lifting the shadows to unveil hidden textures in darker areas. Programs like Adobe Lightroom or Capture One provide fine-grained controls for these adjustments.
2. Use Local Adjustments
Targeted corrections refine specific areas of an image. I use radial or graduated filters to brighten subjects or darken backgrounds selectively, ensuring focal points stand out without affecting the entire photo.
3. Apply Color Grading
Harsh light can oversaturate or wash out colors. Balancing white balance, saturation, and vibrancy corrects color inconsistencies. I sometimes use HSL (hue, saturation, luminance) sliders to tweak individual tones, such as reducing overly dominant yellows or blues for a natural look.
4. Remove Glare And Enhance Highlights
Excessive glare can distract from a photograph. Tools like the Dehaze slider minimize glare while restoring clarity. Using subtle highlight enhancements adds depth, giving an intentional glow to sunlit areas.
5. Sharpen Strategically
High-contrast images often benefit from sharpening specific elements. I enhance edges or detailed textures, like foliage or architecture, while avoiding skin tones to prevent an unnatural look.
6. Experiment With Black and White
Converting photos to black and white emphasizes contrasts and textures. I leverage this approach for portraits or dramatic landscapes, as it shifts focus to light play instead of distracting colors.
7. Export In Optimal Formats
Exporting in formats like high-quality JPEG or TIFF preserves edits and minimizes compression loss. I save photos in sRGB color space for consistency on web displays or use Adobe RGB for prints.
Optimizing post-processing steps ensures harsh light photos achieve the desired aesthetic, whether for online sharing or professional uses.


