Backlighting has this magical way of transforming ordinary subjects into captivating works of art. I’ve always been fascinated by how the right light behind a subject can create that ethereal glow, adding depth and drama to any shot. It’s not just about placing a light source behind your subject—it’s about knowing how to shape it, control it, and make it work in your favor.
Understanding Backlighting Brilliance
- Backlighting highlights subjects by placing the primary light source behind them. This technique creates a luminous effect that separates the subject from the background. It enhances textures, outlines, and shapes for a more dramatic or ethereal visual impact.
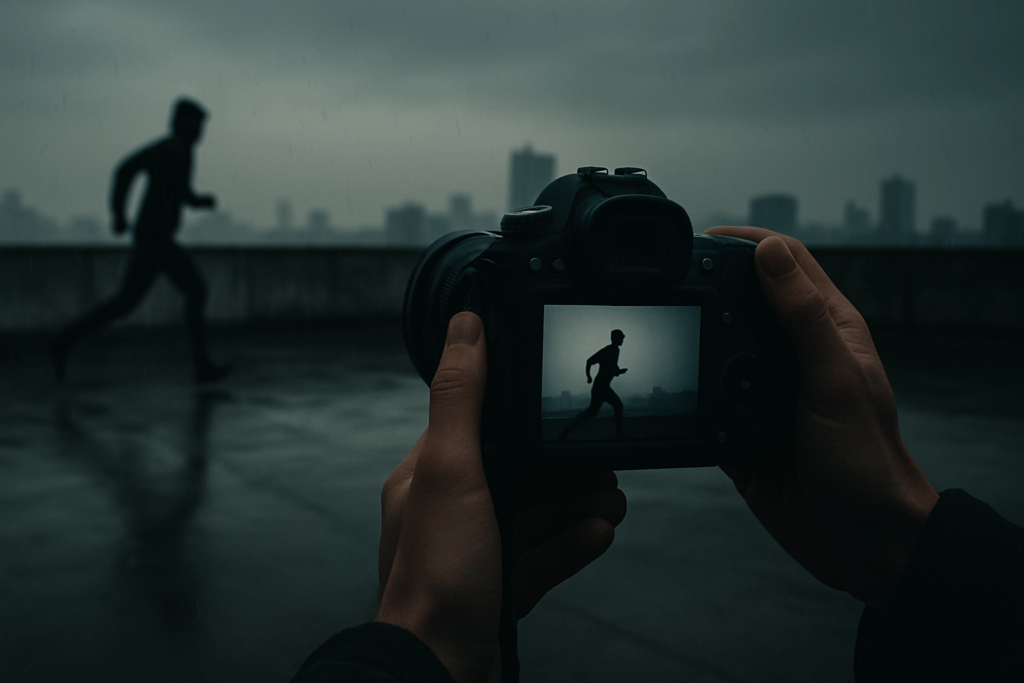
- Positioning is key when creating backlit scenes. I align the light source to form distinct halos or silhouettes around the subject while preventing overexposure. Adjusting angles ensures the light wraps effectively without washing out details.
- Diffusion tools, like reflectors or translucent panels, help control intensity. During golden hour, I leverage the soft, warm light to achieve naturally vibrant results without additional equipment. Cloudy conditions can offer a diffused glow perfect for subtle compositions.
- Choosing the right exposure settings ensures balance. I expose for highlights to prevent clipping while maintaining adequate shadow details. Spot metering simplifies achieving correct exposure by focusing directly on the brightest areas.
- Incorporating foreground elements enhances depth. Leaves, fabrics, or glass placed between the camera and the light source introduce texture and direct attention toward the main subject. These details elevate compositions with added layers and narrative interest.
Essential Equipment For Backlighting
Creating stunning backlit photos requires the right tools. Each piece of equipment plays a role in controlling light and preserving details.
Cameras And Lenses
Using cameras with advanced manual settings ensures backlighting control. Full-frame models like the Canon EOS R5 or Nikon Z8 handle dynamic range effectively, minimizing overexposed highlights. Pair these with fast prime lenses, such as a 50mm f/1.4 or an 85mm f/1.8, to achieve soft bokeh and capture fine subject details in low light.
Wide-angle lenses enable broader compositions while maintaining subject clarity. For example, a 24mm f/1.8 lens works well for capturing expansive backgrounds with glowing elements. A camera’s ability to shoot in RAW format is vital for recovering details during editing.
Lighting Tools
Using portable, adjustable lighting tools enhances the backlighting effect. LED panels, such as the Aputure Amaran F7, provide steady, customizable illumination that complements natural light sources. For outdoor shoots, a flash unit with adjustable power settings, like Godox V1, adds controlled highlights to the subject.
Reflectors amplify light by redirecting it toward desired areas. Silver reflectors create a bright, crisp effect, while gold reflectors add warmth, especially during golden-hour sessions. Diffusion panels soften harsh light and avoid unintended shadows.
Accessories For Enhancing Effects
Including accessories refines backlit compositions. Lens hoods block unwanted flare, ensuring lens clarity. ND (Neutral Density) filters adjust light intensity, extending flexibility for wider apertures even in bright conditions. Colored gels introduce creative tones, altering the mood and enhancing themes.
Tripods or monopods stabilize the setup, crucial when using extended exposures. For dynamic depth, fairy lights and mist spray can amplify glowing effects, crafting visually dramatic compositions.
Techniques To Make Your Subjects Glow
Creating glowing, backlit subjects demands precise control over:
- light placement
- exposure
- creative enhancements
Each technical aspect contributes to the luminous result, transforming ordinary compositions into stunning visuals.
Positioning The Light Source
Positioning the light behind the subject creates the signature glowing effect. I place the light source slightly higher than the subject if I want a halo effect, or directly behind for silhouettes. Adjusting the angle ensures proper separation from the background and avoids excessive overexposure. For outdoor photography, aligning the sun with the edges of the subject enhances the glow, especially during sunrise or sunset.
Managing Exposure And Shadows
Balancing exposure prevents details from being lost in bright highlights or dark shadows. I rely on spot metering to measure the subject’s light while keeping the background properly exposed. Using a reflector helps bounce light onto shadowed areas, maintaining detail without overpowering the backlight. When shooting in manual mode, I lower the ISO to reduce noise and adjust the aperture to control light intensity.
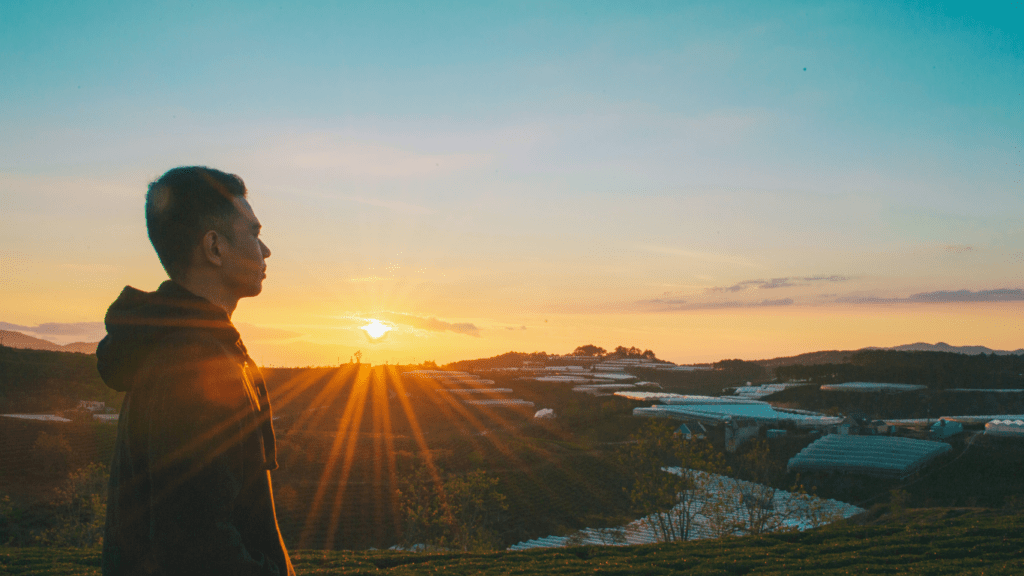
Using Natural Light For Backlighting
Natural light during the golden hour creates warm, soft glows. I position my subject between the light source and my camera to capture striking flares. Diffusion techniques, like shooting through thin fabrics or leaves, help soften harsh sunlight. Experimenting with angles lets me avoid lens flare while enhancing the subject’s radiance. Overcast days also provide diffused backlighting for subtle effects.
Creative Use Of Artificial Light
Artificial lighting offers precision and control over backlit effects. I use LED panels or flash units placed behind the subject to mimic sunlight. Adding colored gels changes the mood, while mist sprays accentuate light beams for dramatic visuals. Combining artificial light with reflectors or diffusion panels ensures even light distribution. For portraits, fairy lights create dreamy bokeh and make subjects glow softly.