When it comes to creating stunning visuals, mastering the art of dodging and burning can make all the difference. These techniques aren’t just for professional photographers or digital artists—they’re essential tools for anyone looking to add depth, drama, and dimension to their work. By carefully highlighting and shading, you can guide the viewer’s eye and bring your vision to life.
What Is Dodging And Burning?
Dodging and burning enhance images by selectively adjusting light and shadow. These techniques emphasize details, creating depth and focus.
The Basics Of Dodging And Burning
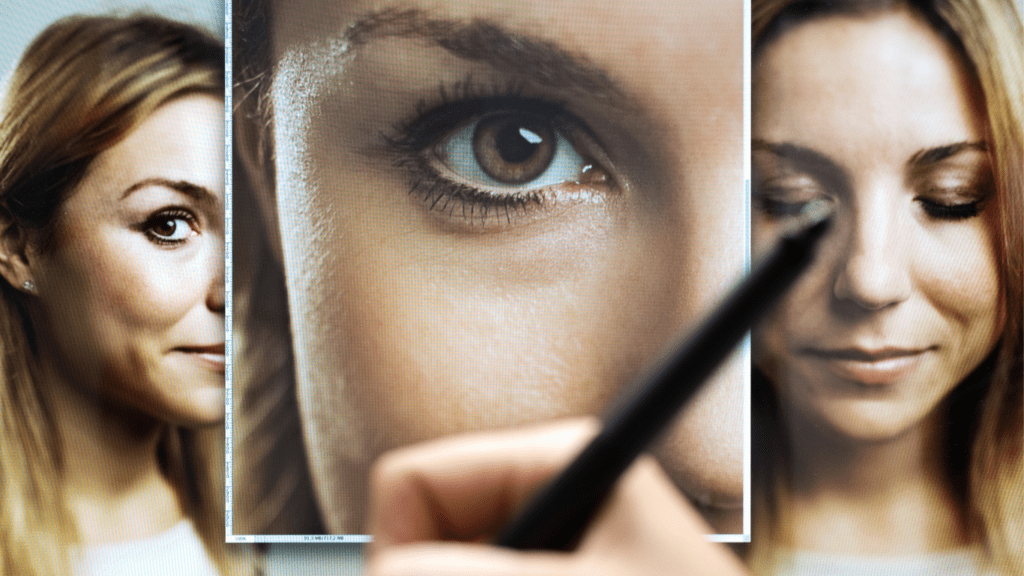
Dodging increases brightness in specific areas of an image. Burning darkens targeted sections. Both methods guide the viewer’s eye to important elements. For example, dodging can highlight facial features, while burning can add shadow to give texture and shape. These adjustments are made post-processing using tools like Adobe Photoshop or Lightroom.
Why Photographers Use This Technique
Photographers use dodging and burning to add drama, refine visual flow, or enhance depth. In portraits, it highlights expressions and contours. In landscapes, it draws attention to focal points like mountains or sunsets. This method ensures the final image aligns with the intended story or emotion.
Tools And Techniques For Dodging And Burning

Dodging and burning rely on precise tools and settings to achieve dramatic results. I focus on using software and brushes that provide flexibility and control.
Software Options For Professionals
I recommend Adobe Photoshop for its advanced tools like:
- curves
- adjustment layers
- layer masks
Lightroom is also effective for global adjustments and selective edits with radial and graduated filters. Capture One offers color grading and precise control over highlights and shadows. Affinity Photo provides powerful alternatives for budget-conscious users without sacrificing quality.
Key Brushes And Settings To Use
- I rely on soft-edged brushes for gradual transitions, ensuring natural results.
- Low opacity and flow settings—around 10% to 20%—help create subtle adjustments without over-editing.
- Using a Wacom tablet or pressure-sensitive device improves accuracy.
- Setting blend modes of brushes or layers to Overlay or Soft Light enhances control for seamless shading and highlighting.
Step-By-Step Guide To Dodging And Burning Like A Pro
Creating dramatic impact with dodging and burning begins with a structured approach. Following these steps ensures images achieve depth and focus.
Preparing Your Image
I start by ensuring the image is in a high-resolution, uncompressed format like TIFF or PSD for maximum editing flexibility. Editing non-destructively is key, so I create two separate adjustment layers for dodging and burning. For each layer, I set the blend mode to Soft Light or Overlay, and then fill it with 50% gray to allow targeted edits without altering the original image. Zooming into 100% ensures precision when working on intricate details.
Applying Highlights For Depth
To add highlights, I select a soft brush with low opacity (5-10%) and choose white as the color. I focus on areas that naturally catch light, like the forehead, nose, cheekbones in portraits, or ridges and peaks in landscapes. Subtle application avoids an unnatural effect, so I build up brightness gradually. Linear or Radial Gradients work well for evenly distributing highlights over larger regions, such as skies in landscape photography.
Adding Shadows For Drama
For shadows, I switch to black with the same soft brush settings. I target regions that naturally fall into shadow to create a sense of depth, such as jawlines or under cheekbones in portraits, or the base of trees and rocks in landscapes. Slightly increasing brush opacity (10-15%) in darker areas enhances drama without overpowering the composition. Adjusting the layer opacity afterward helps refine the overall balance.