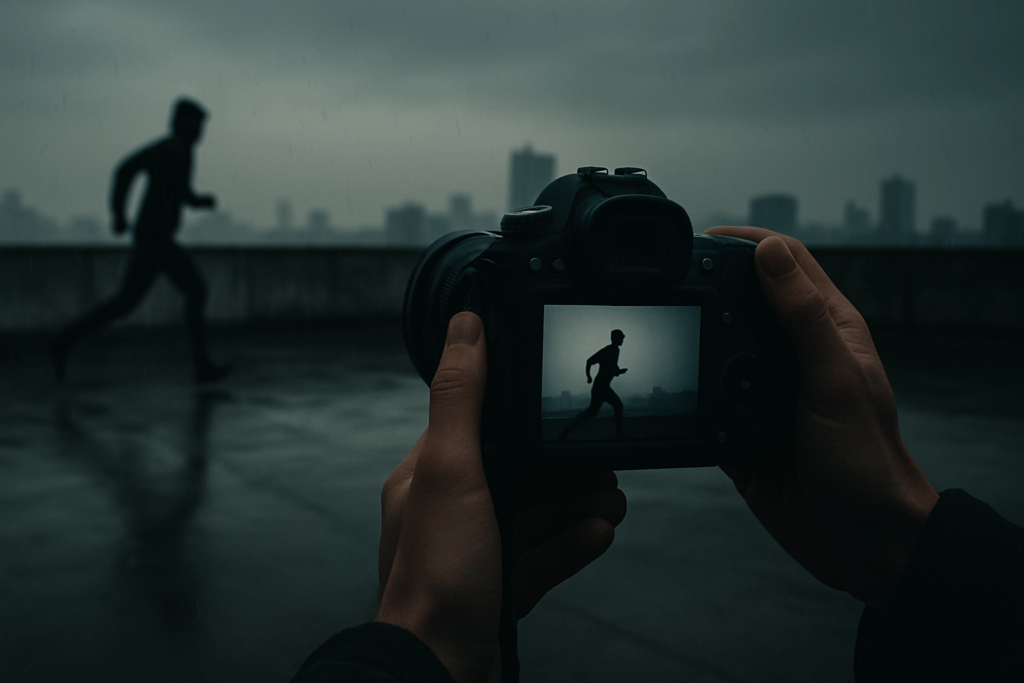
Capturing a perfectly sharp photo feels like magic, doesn’t it? But let’s face it—blurry shots can ruin even the most picturesque moments. Whether you’re snapping portraits, landscapes, or action-packed scenes, achieving tack-sharp focus is what separates a good photo from a truly stunning one.
Understanding the Importance of Sharp Focus
Sharp focus defines the quality and impact of a photograph. It creates clarity, emphasizes details, and draws attention to the subject. Without it, even the most compelling composition can fall flat.
Capturing sharp images enhances storytelling. Crisp details allow viewers to connect with:
- emotions
- textures
- nuances
whether it’s the intensity in a subject’s eyes or the intricate patterns of a landscape. Blurry images lack this connection, diluting the narrative power of a shot. In professional photography, sharpness determines credibility. Consistently achieving focus signals technical skill and mastery over equipment. For instance, wedding photographers rely on precise focus to document fleeting moments with unmatched clarity, while wildlife photographers depend on it to showcase intricate details of fast-moving subjects. Sharpness isn’t just aesthetic; it’s a measure of professionalism.
Common Causes of Blurry Photos
Blurry photos often stem from a combination of technical errors and environmental factors. Identifying these issues is key to improving sharpness and capturing crisp images consistently.
- Camera
Camera shake results from unsteady movement during the shot. Even slight vibrations, like pressing the shutter release, can create blur if the shutter speed is too slow. For example, handheld shooting with a lens at a focal length of 100mm requires a minimum shutter speed of 1/100 seconds to prevent noticeable shake. Using a tripod or image stabilization minimizes this issue.
- Incorrect Focus Settings
Incorrect focus settings occur when the focal point doesn’t align with the subject. Relying on auto-focus modes in challenging scenarios, such as low-contrast scenes, can result in missed focus. For instance, single-point autofocus is ideal for stationary subjects, while continuous autofocus works better for moving targets. Manually selecting the focus point ensures accuracy in complex compositions.
- Poor Lighting Conditions
Poor lighting conditions impair focus and shutter speed. Dim environments force the camera to use slower shutter speeds or higher ISO settings, both of which can introduce blur. For example, shooting indoors without a flash or proper lighting often leads to subpar results. Adding external light sources, increasing ISO cautiously, or using a fast lens with a wide aperture improves sharpness in these scenarios.
Techniques for Achieving Sharp Focus

Ensuring sharp focus in every shot involves a combination of proper techniques and equipment usage. By mastering key methods, I consistently improve the clarity and detail in my photos.
Using Proper Holding Techniques
Stability is essential to prevent camera shake. I hold the camera with both hands, gripping the body with my right hand and supporting the lens with my left. I keep my arms close to my body for extra steadiness. For added stability, I position my feet shoulder-width apart or lean against a solid surface when possible. These practices minimize motion and ensure clearer results.
Mastering Manual and Autofocus Modes
Choosing the right focus mode is crucial for accuracy. I rely on autofocus for dynamic, fast-moving subjects, selecting modes like Continuous Autofocus (AF-C) for tracking motion effectively. For stationary objects or when precision is critical, I switch to manual focus, using the camera’s focus magnification feature to fine-tune details. Understanding the strengths of each mode allows me to adapt to various scenarios seamlessly.
Employing Tripods and Stabilizers
Tripods and stabilizers eliminate unintentional movement in shots. I use a sturdy tripod for long exposures, macro photography, and low-light settings to keep the camera motionless. When photographing video or handheld shots, I integrate gimbals or optical stabilizers to reduce vibrations. High-quality stabilizing equipment significantly enhances focus sharpness, especially when combined with remote shutters to avoid touch-induced vibrations.
Tools and Equipment to Enhance Image Sharpness
High-quality tools and the right equipment can elevate image sharpness drastically. By carefully selecting and utilizing these resources, I ensure precise focus and consistent results in my photography.
Choosing the Right Lens
Lens quality plays a pivotal role in image sharpness. I always opt for prime lenses or high-end zoom lenses, as they typically deliver better optical performance than entry-level lenses. For example, a 50mm f/1.8 prime lens provides outstanding sharpness and clarity when compared to a basic kit lens. Additionally, I pay attention to aperture settings since most lenses achieve peak sharpness around f/8 to f/11, avoiding extremes at the widest or narrowest apertures.
Utilizing Focus Peaking and Focus Assist Features
Focus peaking and focus assist tools enhance precision during manual focusing. On mirrorless cameras, I rely on focus peaking, which highlights the sharply focused areas in real time. This feature helps pinpoint exact areas of focus, especially in low-light or macro photography. For DSLR users, live view focus assist is highly effective for manual adjustments, as it enables me to zoom in and refine focus on minute details.
Experimenting with Post-Processing Tools
Post-processing software adds a professional touch to enhance sharpness further. I use tools like Adobe Lightroom and Photoshop for their advanced sharpening features, such as the “Sharpening” slider and “Unsharp Mask.” In Lightroom, the “Masking” tool helps target specific areas, avoiding over-sharpening smoother regions like skies. These tools allow me to fine-tune clarity without introducing unwanted noise or artifacts.


