Editing can turn a simple photo into a stunning masterpiece, and I’ve always been fascinated by how small tweaks can create such a big impact. Whether it’s enhancing colors, sharpening details, or creating dramatic effects, the right techniques can completely transform an image. It’s not about having the most expensive tools—it’s about knowing how to use them effectively.
What Is High-Impact Editing?
High-impact editing refers to the process of enhancing photos through deliberate, transformative adjustments that amplify their visual appeal. It prioritizes creativity and precision to turn ordinary shots into exceptional works of art. By focusing on elements like color correction, composition refinement, and contrast adjustments, this approach can bring out the best features of an image.
I often use tools like selective editing, layer blending, and advanced retouching to create visually compelling results. For instance, enhancing the vibrancy of natural tones or emphasizing subject sharpness can completely shift an image’s narrative. High-impact editing doesn’t always rely on complex techniques; even simple tweaks, including brightness adjustments or cropping, can deliver remarkable improvements when applied effectively.
Essential Tools For High-Impact Editing
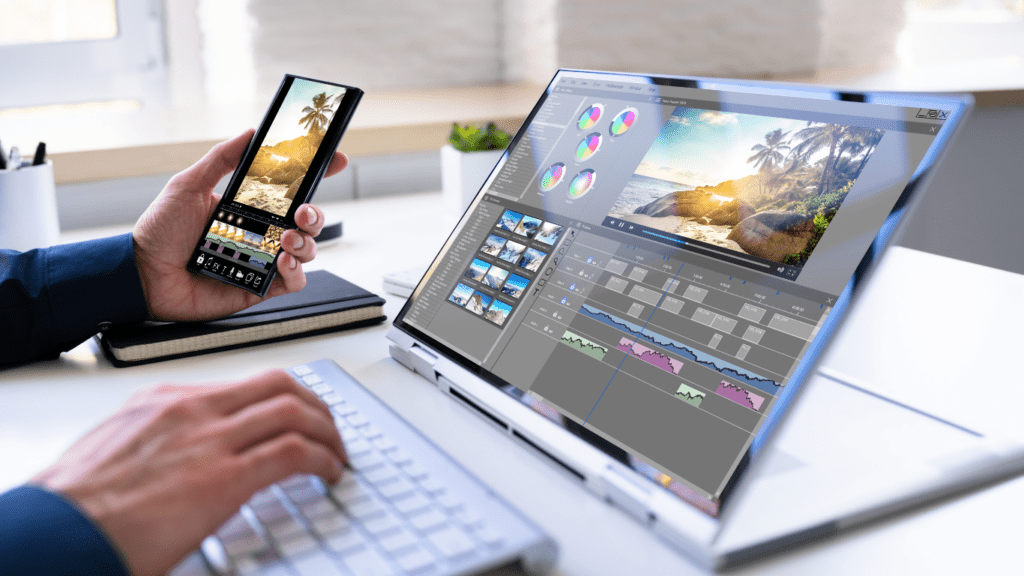
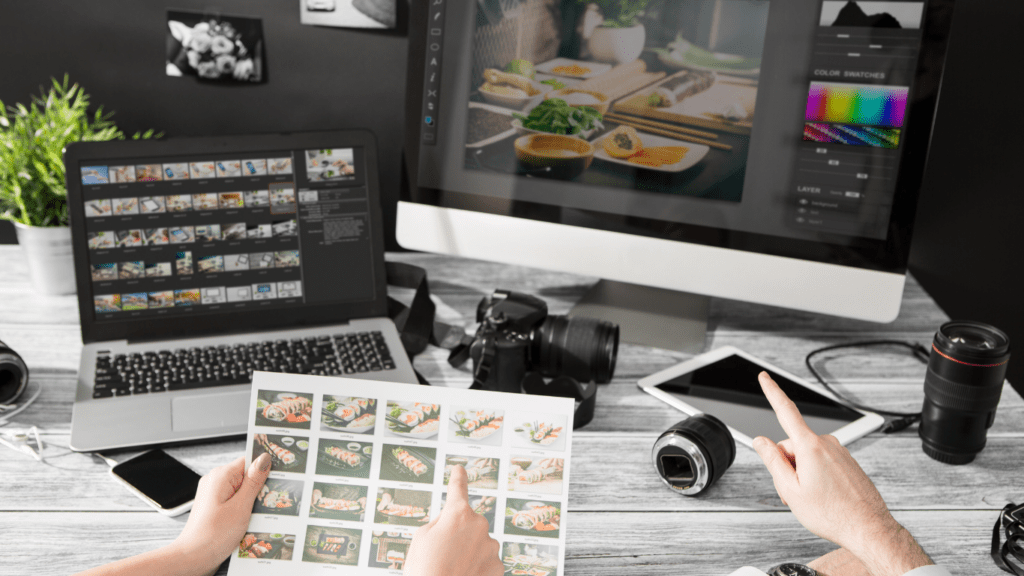
Effective photo editing begins with access to the right tools. From software to hardware, these elements play a crucial role in transforming ordinary photos into captivating masterpieces.
Software Recommendations
Photo editing software determines the scope of your creative possibilities. I rely on tools like Adobe Photoshop and Lightroom for their advanced features, such as:
- layer-based editing
- precise adjustments
- non-destructive workflows
Affinity Photo offers similar functionality with a one-time purchase, making it cost-effective. For beginners, Canva and Snapseed simplify basic edits, including filtering, cropping, and enhancing.
Each tool serves different purposes. Photoshop excels at detailed retouching and photo manipulation. Lightroom streamlines batch editing and color grading. Free options like GIMP provide flexibility for those on a budget, although the learning curve is steeper.
Hardware Considerations
Reliable hardware ensures smooth, efficient editing. I use a computer with a fast processor and at least 16GB RAM to handle advanced software without lag; 32GB is better for large file sizes. High-resolution monitors, such as 4K displays, improve accuracy in color correction and detail work. I pair my monitor with hardware calibrators like the Datacolor SpyderX for consistent color reproduction.
For mobility, laptops with dedicated GPUs like a MacBook Pro or Dell XPS deliver excellent performance. External storage, such as SSDs with 1TB capacity, provides ample space for large photo libraries and fast read/write speeds. Accurate editing also benefits from graphic tablets, such as Wacom Intuos, enabling finer control during retouching processes.
Key Techniques To Transform Ordinary Shots
Turning an average image into a striking masterpiece requires mastering key editing techniques. Below, I explore practical methods that maximize a photo’s potential.
Adjusting Light And Exposure
Balancing light and exposure determines the overall mood and clarity of an image. I begin by refining brightness, highlights, and shadows to ensure a natural yet captivating look. For instance, raising shadows uncovers hidden details in underexposed areas, while reducing highlights prevents overblown regions in high-contrast shots. Histogram tools in editing software help me identify and correct uneven exposure, resulting in balanced compositions.
Perfecting Color Grading
Color grading improves visual harmony by defining tone and atmosphere. I adjust hue, saturation, and luminance for individual colors to evoke specific emotions or match a desired style. For instance, warm tones enhance sunset photos, while cooler adjustments boost tranquility in coastal scenes. Split toning allows me to accentuate highlights and shadows separately, enhancing depth and creating cinematic aesthetics.
Enhancing Details And Texture
Sharpening and texture enhancement bring out fine details that make images stand out. I use subtle sharpening to preserve edges without causing artifacts, focusing on areas like eyes, foliage, or architectural features. Tools like clarity and texture sliders enrich surfaces, adding dimension to flat images. For portraits, I smooth skin lightly while retaining natural textures, ensuring realism and impact.
Creative Approaches To Stand Out
Applying inventive techniques in editing can transform images and make them stand out. Specific strategies like adding dramatic effects and experimenting with unique styles can elevate your work.
Adding Dramatic Effects
I enhance visual impact by using elements like vignettes, selective lighting, or high-contrast adjustments. Vignettes draw focus to the subject by darkening the edges subtly. Selective lighting emphasizes key areas of the image to create depth and dimension, especially in portraits. Adding high contrast intensifies highlights and shadows, giving landscapes a more dramatic look. For further enhancement, I use dehazing tools to clarify skies or add mystery to foggy scenes.
Experimenting With Unique Styles
Incorporating diverse editing styles breathes life into ordinary images. I often explore techniques like duotone effects, glitch overlays, or minimalistic edits. Duotone effects, achieved by combining two contrasting colors, give photos a modern, artistic feel. Glitch overlays introduce pixelated distortions for a retro, edgy aesthetic. Minimalistic edits, focusing on simplicity and clean compositions, bring elegance to product or architectural shots. Frequent experimentation helps me refine my creative identity.
Common Mistakes To Avoid
Ignoring overediting risks diminishing a photo’s authenticity and appeal. Excessive use of filters, saturation, or sharpness can lead to unnatural results. I focus on subtle adjustments instead of radical enhancements to maintain realism.
Neglecting the original composition often limits the editing potential. Cropping or aligning poorly can result in a disjointed image. I always plan edits with the original framing and visual balance in mind.
Overlooking lighting inconsistencies creates a disjointed appearance. Misaligned highlights, shadows, or exposure adjustments disrupt the photo’s harmony. I ensure all light corrections are gradual and balanced.
Relying solely on presets reduces creative individuality. While presets save time, they might not suit every image. I use them as a base and personalize adjustments to fit the photo’s mood and context.
Failing to review the final output often leads to unnoticed errors. Blurred edges, noise, or color banding are common issues. I double-check every detail to ensure professional-quality results.
Tips For Developing Your Editing Style
Crafting a unique editing style elevates photography by giving images a distinct, recognizable character. Consistency, experimentation, and learning from different sources help refine an approach that stands out.
1. Analyze Your Favorite Edits
I study edits from photographers or creators I admire. By noting recurring techniques, such as color grading, contrast preferences, or use of shadows, I identify what resonates with my vision.
2. Experiment With Techniques
Trying diverse tools and features expands my skill set. For instance, I explore split toning, selective adjustments, or bold effects like HDR to find methods that align with my aesthetic.
3. Practice Consistency
I aim to maintain uniformity in tone, color, and lighting across different edits. This strengthens my personal style and ensures my work feels cohesive, whether for portfolios, social media, or client projects.
5. Incorporate Feedback
Using constructive criticism improves my approach. I share edits with peers or photography communities, gaining insights into what works and how to refine areas that don’t.
6. Learn From Tutorials and Resources
I engage with video tutorials, blogs, and workshops from renowned editors. Absorbing their workflows uncovers new possibilities and inspires innovation in my style.
7. Refine Over Time
Reviewing my older edits helps me track progress and fine-tune my preferences. For example, I adjust prior techniques to better align with my evolving creative direction.