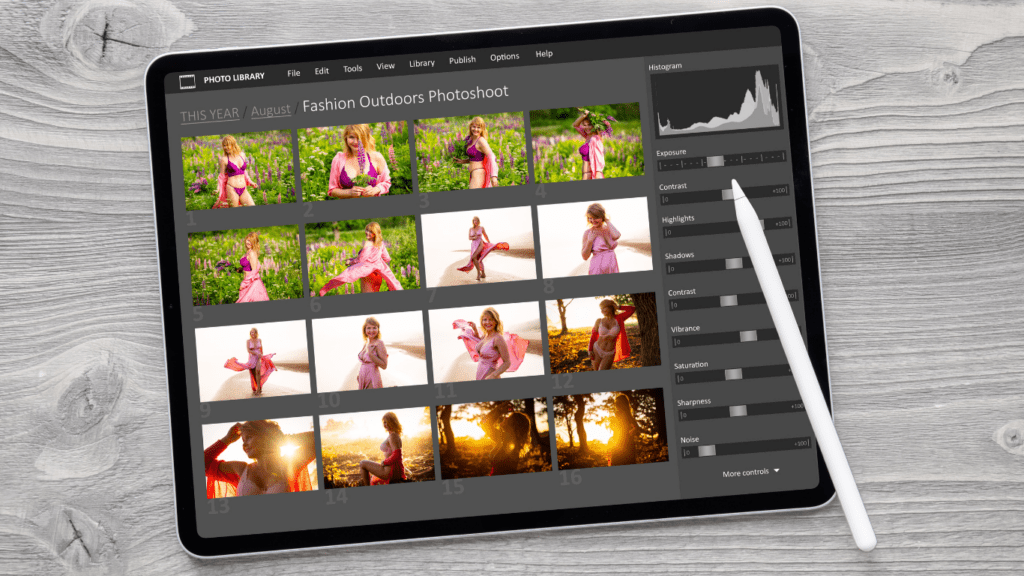
When I first started editing, I felt overwhelmed by the endless tools, techniques, and trends. It seemed like everyone had a unique style that set their work apart, yet I struggled to find my own voice. Developing a signature editing style might feel like a daunting task, but trust me, it’s a journey worth taking.
Your editing style is more than just a collection of presets or filters—it’s an extension of your creativity and perspective. It’s what makes your work instantly recognizable and uniquely yours. Whether you’re just starting out or refining your craft, building a style from scratch is all about experimentation, self-discovery, and consistency.
Understanding the Importance of a Signature Editing Style
A signature editing style distinguishes your work from others. It creates a visual identity that resonates with your audience and makes your content instantly recognizable. This consistency fosters trust and familiarity, two critical factors in building a loyal following.
An editing style reflects your perspective as a creator. It conveys your artistic voice and communicates your unique way of capturing and interpreting the world. The choices you make—whether it’s color grading, framing, or enhancements—tell a story about your identity.
Having a defined style increases your efficiency. Knowing your preferred techniques and workflows reduces decision-making time, allowing you to focus on refining your craft rather than starting from scratch with each project.
A recognizable style presents opportunities for collaboration and monetization. Brands, clients, or collaborators often seek creators whose visuals align with their vision. By mastering your signature look, you broaden the potential for meaningful partnerships.
Exploring Your Unique Vision
A unique vision forms the foundation of a signature editing style. It reflects how you see the world and translates that perspective into your work.
Identifying Personal Preferences
Understanding personal preferences sets the tone for your editing style. I pay attention to what draws me to specific visuals, like certain moods, colors, or compositions. For instance, I note if I gravitate toward warm tones or prefer clean, minimal designs. Analyzing past projects can reveal patterns, helping pinpoint consistent elements I naturally choose. Evaluating likes and dislikes, especially in:
- lighting
- contrasts
- textures
refines this understanding further.
Finding Inspiration in Others’ Work
Studying others’ work sparks new ideas while refining individual preferences. I explore portfolios of photographers, designers, or videographers whose styles stand out. Instead of copying, I break down key elements, such as color palettes or editing techniques, to understand their appeal. Exposing myself to diverse genres broadens my perspective and helps me adopt techniques that complement my creative direction. For example, I might blend cinematic color grading from films with bold contrasts from street photography to develop something unique.
Building Technical Skills

Developing technical skills lays the groundwork for a strong and consistent editing style. Gaining proficiency in editing tools and methods enhances creativity and unlocks new possibilities.
Mastering the Basics of Editing Software
- Learning editing software fundamentals ensures smoother workflows.
- I focused on understanding key tools like Adobe Photoshop, Lightroom, and Premiere Pro due to their versatility and professional-grade features.
- Tutorials or structured courses provide step-by-step guidance for learning features such as layer adjustments, masking, and color grading effectively.
- Key commands, shortcuts, and interface navigation boost efficiency. For example, memorizing keyboard shortcuts for frequently used tools, like Cmd+C for copying layers in Photoshop, saves time.
- Developing muscle memory for these controls reduces the time spent on repetitive tasks, leaving more room for creativity.
Experimenting With Different Techniques
Applying varied techniques is essential for exploring creative possibilities. I started manipulating basic elements like brightness, contrast, and saturation to understand how each adjustment changes the overall tone. For instance, experimenting with high contrast in dim scenes revealed how shadows create dramatic effects.
Blending techniques such as double exposure or split toning introduced unique results. Engaging with tutorials or community forums helped me discover niche methods, like frequency separation for skin retouching or using LUTs (Lookup Tables) for cinematic looks. Testing diverse approaches sharpened my technical abilities while helping refine my visual preferences.
Developing Your Own Aesthetic
Defining your aesthetic involves embracing creativity while building a personal, recognizable visual identity. It merges both creative instinct and structured practices to shape a unique editing signature.
Recognizing Your Creative Strengths
I focus on identifying the creative aspects that come most naturally to me. This might include a preference for dramatic lighting, vibrant colors, or serene and minimalistic tones. By analyzing my previous work, I pinpoint recurring elements in composition, effects, and edits. For example, I might notice repeated use of warm tones or a preference for high contrast in specific shots. I find it helpful to ask what stands out most and why it connects with my vision. These patterns and strengths serve as a foundation for developing my aesthetic.
By narrowing down my strengths, I avoid stylistic confusion and make my work distinctive. I concentrate on enhancing these traits to define an editing style that reflects my outlook while aligning with my personal and professional goals.
Establishing a Consistent Workflow
Creating consistency starts with refining my workflow to suit my editing priorities and time constraints. I establish step-by-step processes that incorporate key tools, such as presets, templates, and custom adjustments. For instance, I might create a Lightroom preset tailored to my preferred lighting and color tones for streamlining edits across multiple projects.
Using an organized approach, I categorize techniques like color grading, contrast balancing, and texture enhancement into repeatable steps. This allows me to ensure that every project aligns with my established aesthetic. By integrating automation, shortcuts, or batching tools into the workflow, I save time and maintain visual uniformity. A consistent workflow not only keeps my creative output reliable but also reduces decision-making fatigue, allowing me to focus more on exploring new techniques to evolve my aesthetic further.


