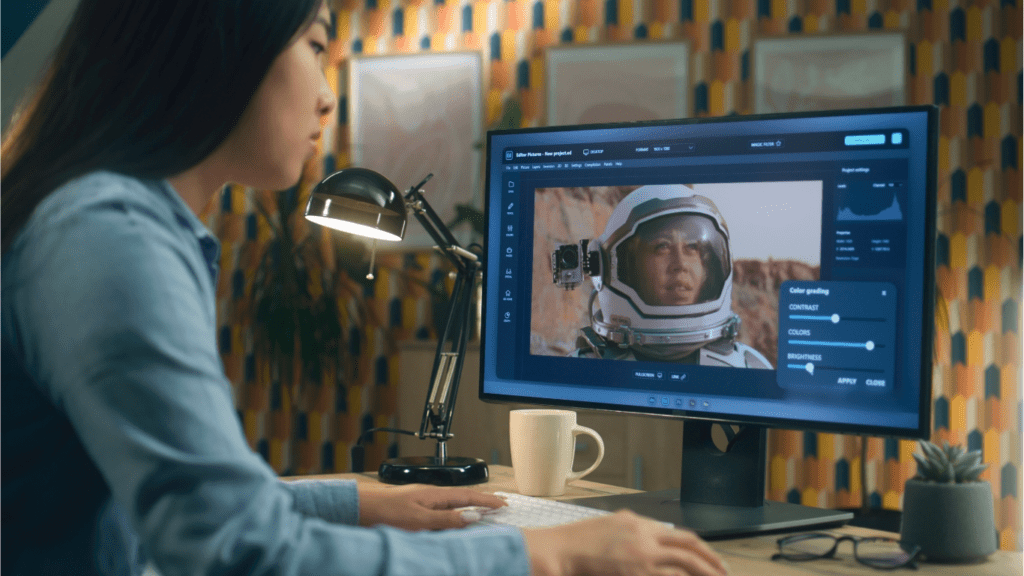
If you’ve ever wondered how designers create seamless edits or stunning composites in Photoshop, the secret often lies in mastering layer masks. They’re one of the most powerful tools in the program, yet they can feel a bit intimidating at first. Trust me, once you understand how they work, they’ll completely transform the way you edit.
Layer masks give you the control to blend images, adjust specific areas, or apply effects with precision—all without permanently altering your original work. Whether you’re a beginner or looking to sharpen your skills, learning to use them effectively is a game-changer. Let’s dive into the essentials and unlock the full potential of your creativity.
What Are Layer Masks In Photoshop?
Layer masks in Photoshop control a layer’s visibility, helping create non-destructive edits. They act as overlays to hide or reveal parts of a layer without altering its content. A layer mask operates on grayscale values, where white areas remain visible, black areas are hidden, and gray areas show varying levels of transparency.
I use layer masks when blending multiple images or applying effects selectively. For example, removing a distracting background involves hiding unwanted areas without erasing pixels. Using masks, I ensure flexibility and can make changes at any stage of editing.
When adding a layer mask, it’s applied as a thumbnail next to the layer. Painting on the mask with a brush tool and selecting black, white, or gray adjusts opacity seamlessly. This workflow allows refined control compared to traditional erasing methods.
Why Layer Masks Are Essential For Photo Editing
Layer masks provide unparalleled flexibility and control during the editing process. They enable non-destructive edits, ensuring the original image remains intact. Instead of erasing pixels, layer masks allow me to hide or reveal parts of a layer by painting in:
- black
- white
- shades of gray
They enhance precision in blending two images or creating composites. For example, I use layer masks to merge photographs seamlessly, ensuring edges appear natural. This technique is crucial when combining different exposures or aligning elements from various shots.
Selective adjustments become efficient with layer masks. I target specific areas to apply effects like color changes, brightness tweaks, or contrast adjustments without impacting the entire image. This saves time when working on fine details or complex compositions.
They improve efficiency in restoring edits. Since edits made with layer masks are reversible, I can revisit them later and refine changes without losing prior work. This is particularly useful in long-term projects where frequent client feedback is required.
Layer masks simplify isolations and extractions. By using layer masks, I extract subjects from backgrounds while preserving intricate details like hair or fabric edges. This ensures a more polished and professional look compared to traditional cut-outs.
How To Create A Layer Mask

Creating a layer mask in Photoshop involves simple steps that offer precise control over edits. I’ll break down the process into key actions to ensure clarity and efficiency.
Adding A Layer Mask To A Layer
- I select the layer in the Layers panel where I want to add a mask.
- Then, I click the “Add Layer Mask” button at the bottom of the panel.
- Photoshop adds a white thumbnail next to the layer preview, indicating that the entire layer is visible.
- To hide parts of the layer, I paint on the mask thumbnail with a black brush.
- For partial transparency, I use gray shades.
- Adjusting the brush size and hardness lets me refine the masking process easily.
- By default, white reveals and black conceals.
Refining The Layer Mask
To improve precision, I use the “Properties” panel after selecting the mask thumbnail. The “Feather” slider softens edges, while “Density” adjusts transparency. If I notice imperfections, I switch to the Brush Tool and continue painting directly on the mask.
For accurate selection, I apply the “Select and Mask” workspace, accessible via the mask context menu. This tool is especially helpful for complex subjects like hair or irregular edges. Using “Refine Edge” inside this workspace ensures smoother transitions between visible and hidden areas.
Deleting A Layer Mask
If I want to remove a layer mask, I right-click the mask thumbnail and choose “Delete Layer Mask.” Alternatively, I drag the thumbnail to the trash icon at the bottom of the Layers panel. Photoshop prompts me to confirm the deletion, ensuring I don’t accidentally lose any masking work. If I want to preserve the mask, I choose “Apply Layer Mask” instead. This action merges the mask’s effect directly into the layer.
Techniques For Using Layer Masks Effectively
Layer masks enable creative control over edits, ensuring precision and flexibility. By mastering these techniques, I achieve professional results in my projects.
Adjusting Opacity And Transparency
I adjust opacity and transparency on layer masks by painting with gray tones. Lighter grays reveal more transparency, while darker grays conceal content more effectively. For example, when softening a background, I use a mid-gray brush for subtle transitions rather than harsh edges. I also refine these effects with the “Properties” panel to tweak density, which adjusts the transparency levels globally on the mask. This ensures that my edits remain smooth and finely tuned.
Combining Multiple Masks
Combining multiple masks simplifies complex edits involving multiple layers. I merge mask effects by grouping layers and applying masks to the group itself. For instance, when editing a composite with layered adjustments for lighting, highlights, and shadows, I consolidate their visibility into one group mask. This approach reduces clutter while ensuring each mask contributes to the desired effect. Clipping masks, when applied to grouped layers, further enhance control.
Using Gradient Masks
Gradient masks create smooth and seamless blending between image areas. I use the gradient tool on a mask for tasks like transitioning between two images in a composite or fading text into a background. For example, I select the gradient type (linear or radial) based on the blending style I need, then drag across the mask to form the gradient blend. Adjusting the gradient’s angle and length refines the transition, ensuring a polished finish. These masks are particularly effective when I want to draw attention to focal points without abrupt changes.
Solving Common Layer Mask Problems
Layer masks offer precision and flexibility, but occasional issues can disrupt workflows. Addressing these problems efficiently ensures smoother edits and professional results.
Fixing Unintended Edits
When edits accidentally affect unintended areas, I identify overlapping selections or incorrect brush settings. Painting on the mask with black, white, or gray while using a soft-edge brush resolves most visual errors. If blending appears uneven, I check opacity and flow settings in the toolbar to ensure consistent application.
Misaligned masks often occur when layers or masks are moved separately. To fix this, I click the link icon between the layer thumbnail and mask in the Layers panel, reactivating synced movements.
Working With Complex Masks
Complex masks require careful refinement for accuracy. I use the “Select and Mask” workspace to define selections precisely. Adjusting edge detection with sliders like “Radius” and using “Refine Edge Brush Tool” preserves intricate details, such as hair or fur.
To add depth or adjust transparency smoothly, I utilize gradient masks. Applying a black-to-white gradient creates seamless transitions when merging layers. For improved control, I combine masks by grouping layers and applying masks at the group level, simplifying intricate edits.


